A Guide to the Invisalign Process

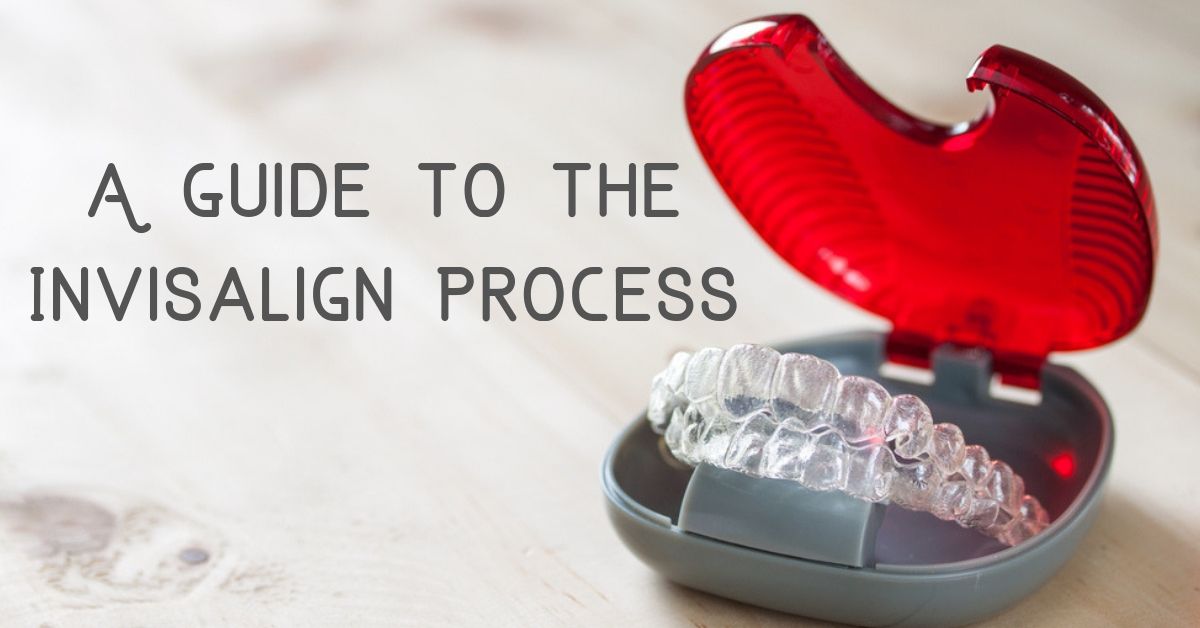
Invisalign is invisible and non-invasive. It’s a revolutionary method of straightening your teeth. A set of plastic aligners custom-made for your teeth slowly move your teeth to the desired position. For those who are curious about Invisalign, here’s a quick guide to what is involved in the process.
1. Consultation
The first step is a consultation, the Invisalign orthodontist will look into your mouth and take some x-rays and photographs of your teeth. These will help them decide if your teeth are suitable for Invisalign. You can also take this opportunity to ask more questions that you may have about the entire process, including how it works, how much it costs, and how long it will take for your particular case.
2. 3D Pictures of Your Teeth
Once they have determined that you are a prime candidate for Invisalign, they will go ahead with the second appointment. They take impressions of your teeth that will be used to create a highly accurate digital 3D model of your teeth. They will use modeling techniques and 3D technology to create an image of your ideal set of teeth and use this model as a basis to create the aligners you will be wearing.
3. Custom Aligners
Once you have worked with the orthodontist to figure out the best image, the first set of aligners are produced to move your teeth towards the first position. These aligners are made out of BPA-free plastic. And they will not cause irritation or cut the inside of your mouth as metal braces might. The number of aligners that are produced depends upon the length of your treatment plan. For a rough guide, Treatment usually takes one year and each aligner is worth two weeks, for about 22 hours a day for the best results. Of course, they can be removed when eating or brushing teeth. With each set of aligners, your teeth move closer towards the ideal position.
4. Regular checks on your progress
A few aligners a time will be given to you and it will be up to you to ensure you wear them for the time periods required. Your orthodontist will see you every two months for a quick meeting to give you the next set of aligners and monitor your progress. You will begin to notice small improvements in your smile with each stage of the process. On occasion, they may need to make small adjustments to your teeth or aligners. The allows your doctor to control the force and timing of the aligners on your teeth. They will only move certain teeth at a certain stage, which will make the whole process more seamless for you.
5. Maintaining proper hygiene
As you go through the process, it’s important to continue to maintain excellent oral hygiene. Brush your teeth twice a day as normal to make sure everything goes as smoothly as possible with the Invisalign process. Unlike braces, you can remove them, so you are less likely to get food stuck on your aligners, but your teeth still need to be regularly cleaned. Don’t forget to floss your teeth, and regularly rinse your aligner too.
6. Same teeth, new smile
As mentioned before, the average time for treatments to last is about a year. If you are a teenager, it takes about as long as braces would. By the end of the treatment period, your teeth should be moving into place nicely. You might need to continue wearing a retainer once you have finished the treatment. This will help ensure your teeth will stay aligned in their new places. When the treatment is finished, you will not be able to stop looking in the mirror at your new smile. You will likely be given a new sense of confidence when facing the world. Now is the time to get out there and show the world your smile.
Go Clear Orthodontics
By now you know exactly what is involved in the Invisalign process. Everyone deserves a smile that makes them feel confident, if you’re ready to take charge of your smile, contact us today for an appointment.
